Smartphone Camera 101 for Senior Travelers

Ready to snap stunning travel photos with your smartphone camera? Start by getting cozy with the settings: tap to focus, adjust exposure, and use HDR for those breathtaking landscapes.
Master the Rule of Thirds for better composition, and aim for golden hour lighting to add irresistible warmth to your shots.
Try different shooting modes like Portrait and Night to capture people and low-light scenes. Play around and see what works best for you.
Keep your memories safe and organized, and you’ll be a travel photography pro in no time. Stick around for more tips!
Understanding Your Smartphone Camera Settings
Understanding your smartphone camera settings might just be the secret sauce to capturing those picture-perfect travel memories, so let’s explore!
First off, focus on your subject by tapping the screen—it’s that easy! Adjust your exposure to brighten or darken your photos, especially in tricky lighting. Utilizing HDR can greatly improve contrast and detail in your images, ensuring that your travel memories are vividly captured.
Keep the ISO in mind; lower numbers are great for sunny days, while higher ones save the day in dim spots, though they might add a bit of noise.
Shutter speed is your ticket to controlling motion—slow it down for dramatic blurs or speed it up to freeze action.
Don’t forget about white balance, which keeps colors true to life or helps create that dreamy effect you love.
Finally, don’t shy away from using different camera modes like Portrait or Night mode to capture special moments. Your smartphone is a tiny power-packed camera, ready for adventure!
Mastering Composition Techniques
When you’re out discovering new places, it’s essential to think about how you frame your shots because great composition can turn an ordinary photo into something extraordinary!
First, try the Rule of Thirds: visualize the frame divided into a grid and position key elements along those lines. It’s an easy way to create balance.
Consider leading lines, like pathways or rivers, guiding your viewer’s eye straight to your subject—these lines add depth and interest! Leading lines can also draw attention to specific features of your composition that might otherwise go unnoticed.
Don’t forget about negative space; including some plain areas makes your subject pop like a star on stage!
Experiment with diagonals and dynamic shapes by tilting your camera or capturing curves.
Finally, play around with different perspectives; shoot low, high, or at funky angles to find that perfect shot.
With these fun techniques in your toolkit, your travel photos will be anything but boring!
Now, go out and capture those moments!
Lighting Tips for Beautiful Photos
Great composition sets the stage, but lighting is the star of the show that can truly elevate your travel photos to new heights! Aim to capture those golden hour moments, right after sunrise or before sunset, when the light turns warm and magical. It’s perfect for stunning portraits and landscapes. Remember that key light directly illuminates your subject, ensuring they stand out beautifully against the captivating backdrop.
And don’t forget about the blue hour— that lovely twilight time when everything looks cool and moody. Midday sun? It’s like a spotlight gone rogue, creating harsh shadows that can ruin your shot. If it’s overcast, rejoice! The clouds soften the light, giving you balanced and detail-rich photos.
Try backlighting by positioning the sun behind your subject; you’ll create unique silhouettes. When night falls, embrace street lamps and neon signs for creative bursts of color. With these tips in your toolbox, you’ll snap beautiful photos that truly reflect your adventures!
Focus and Exposure Management
As you set off on your travel adventures, mastering focus and exposure can turn your smartphone snapshots into stunning keepsakes that truly capture the moment. First, use the tap-to-focus feature on your screen; this is like having a magic wand that makes sure your subject is sharp and clear.
If you’re getting artsy with macro shots, don’t shy away from manual focus adjustments to bring the smallest details into view!
When it comes to exposure, tap on different areas of the screen to adjust brightness—think of it as deciding how sunny your photo should feel!
HDR mode is great for those tricky lighting situations, giving your images a balanced touch without the scary flash. Just remember, moving closer to your subject is often better than using digital zoom, which can blur your masterpiece.
Happy snapping, and get ready to impress your friends with your newfound photography skills!
Exploring Shooting Modes for Different Scenarios

Now that you’ve got the hang of focus and exposure, let’s explore the fun world of shooting modes that can help you capture the perfect shot no matter where your adventures take you.
Your smartphone camera is like a trusty sidekick, with various modes ready to tackle different scenarios. Here are three to try out:
- Panorama Mode: Capture those breathtaking vistas with ease! Just pan your camera steadily, and it’ll stitch together a wide shot that’ll make your friends swoon.
- Night Mode: Don’t let low light stop you! This mode captures more detail by combining several exposures, letting you snap stunning nighttime cityscapes without a flash.
- Portrait Mode: Want your subjects to shine? This mode beautifully blurs the background, focusing attention on them like a professional photo shoot—no fancy studio required!
Utilizing Camera Features for Better Results
How can you get the most out of your smartphone camera while traveling?
First, remember to tap the screen to lock focus on your main subject; this’ll keep your photos nice and sharp!
If the lighting isn’t just right, you can manually adjust the exposure by sliding your finger up and down. For those stunning evening shots, increase exposure to brighten them without using a flash.
Don’t forget to zoom! A pinch in or out keeps things smooth, but avoid digital zoom to maintain quality.
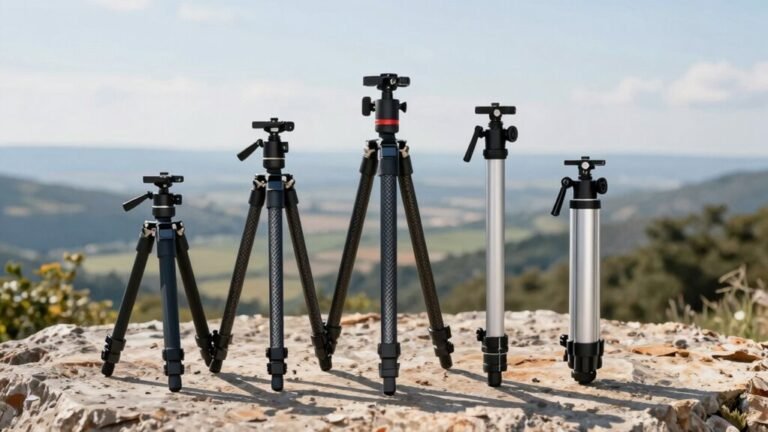
Keep your phone steady—try resting it on a surface or using a tripod.
Lastly, consider basic accessories like clip-on lenses for extra creativity and a little portable light if the sun decides to hide.
Basic Editing Techniques for Enhancing Photos
Editing photos can feel like magic—it transforms your memories into stunning visuals that you’ll love to share and look back on.
Luckily, you don’t need to be a pro to enhance your pictures. A few basic techniques can make a world of difference!
Here are three fun and easy tips you can try:
- Brightness and Contrast: Adjust brightness to bring out details, and tweak contrast to make light and dark areas pop; this adds depth to your images.
- White Balance and Cropping: Fix color casts with white balance adjustments for natural hues, and crop out distractions to clean up your composition.
- Saturation: Play with saturation to make colors vibrant or soft, depending on the mood you want to convey.
Tips for Travel Photography Success
Travel photography is like capturing a piece of your adventure in a frame, and you want to make each shot count. To kick things off, activate the grid lines on your smartphone to master that classic rule of thirds—place your subjects along those lines for a balanced look.
Don’t forget to keep horizons straight; nobody wants crooked horizons ruining their stunning beach shot! For backgrounds, simple is better; they help your main subject pop.
Natural light is your best friend, so get outside whenever you can, especially during the golden hour for warm, magical photos. Remember, physical movement trumps digital zoom—get closer instead!
Finally, try a lightweight tripod for those low-light shots or tricky selfies to avoid shaky hands. Snap multiple shots in burst mode, and who knows? You might just capture the moment of a lifetime, or at least a smiling face among the scenery!
Keeping Your Memories Safe and Accessible
When you’re collecting those cherished snapshots from your adventures, it’s important to keep them safe and easy to find later. You don’t want to go searching for that perfect sunset shot, right?
Here are a few simple tips to help you stay organized:
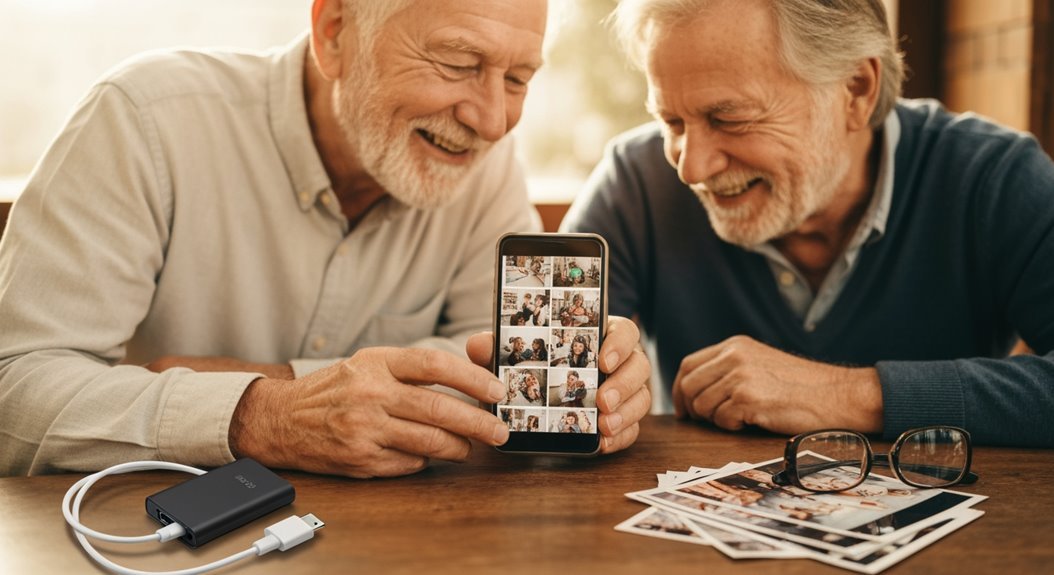
- Centralize Your Photos: Use one digital location like cloud storage or your computer. This way, everything’s in one place, reducing chaos.
- Digitize Memories: Turn those old prints into digital files. Not only does this save space, but it also makes sharing a breeze!
- Create Albums: Sort your photos by events, dates, or themes. This keeps your memories neat and accessible, just like your favorite travel souvenirs.
Frequently Asked Questions
How Do I Clean My Smartphone Camera Lens Properly?
To clean your smartphone camera lens properly, grab a clean microfiber cloth and gently wipe the lens in a circular motion.
For stubborn smudges, try a lens wipe made for optics—no regular wet wipes, please!
Use a soft brush to sweep away any dust first and apply a bit of lens cleaning solution to the cloth, not the lens itself.
Keep it gentle, and your pictures will be crystal clear, not blurry messes!
What Should I Do if My Camera App Freezes?
If your camera app freezes, don’t panic!
First, try restarting your phone—it’s like a reset for your tech nerves. If that doesn’t work, hold the volume down and power buttons together for about ten seconds.
If it’s still frozen, check for app updates, or clear the cache.
Sometimes, other apps can be pesky little gremlins. A little troubleshooting can get you back to snapping those unforgettable memories in no time!
Can Smartphones Shoot in Low Light Effectively?
Smartphones can shoot in low light effectively, thanks to some clever tech advancements.
They use computational photography to enhance your images, battling noise like a champ. While their sensors are smaller than traditional cameras, many smartphones now feature wide apertures that let in more light.
Plus, with image stabilization, your photos won’t look like shaky disco balls!
How Can I Recover Deleted Photos From My Phone?
To recover deleted photos from your phone, plunge into your Google Photos Trash or the Recently Deleted album if you’ve got an iPhone.
You’ll find your deleted treasures hanging out there for 30 days, just waiting to be rescued!
If they’ve vanished completely, don’t fret—check cloud backups or try app solutions like DiskDigger.
It’s like a treasure hunt for your memories, and who doesn’t love a little adventure?
Happy recovering!
What’s the Best Way to Share Photos Online With Family?
The best way to share photos online with family is to use user-friendly apps like Google Photos or FamilyAlbum. They let everyone join in without fuss, offering features like shared albums and unlimited storage.
You’ll love how easy it’s to add photos, comment, and even use QR codes for quick access! Plus, with privacy settings, you can control who sees your memories—keeping those embarrassing moments just between you and your loved ones!
Conclusion
So there you have it, a crash course in smartphone photography tailored just for you! With your newfound skills, you’ll capture memories that’ll pop as vividly as your favorite vacation moment. And who knows? You might even spot that elusive squirrel that’s a pro at dodging the camera! Just remember to keep your memories safe, and don’t forget to share those beautiful snaps with family and friends. Happy traveling, and may your photos always be frame-worthy!